

You're statistically more likely to use a medical kit on the road than anywhere else — crashes, roadside stops, trail mishaps, and the everyday injuries that happen far from a pharmacy. Yet most cars carry either nothing or a gas-station bandage tin. Here's how to build real capability into your vehicle, in three tiers.
Tier 1: The Glovebox Layer (Everyday Injuries)
Bandages, antiseptic wipes, sting relief, tape, and an instant cold pack. Cheap, flat, and used constantly. Our PBFAK "Ouch Pouch" covers this tier in one grab.
Keep this layer physically separate from your trauma gear. The boo-boo pouch gets opened weekly for scraped knees and paper cuts; if it shares a bag with your chest seals, every snack-stop bandage hunt disturbs the layout you'll need to navigate by feel in an emergency. Two pouches, two jobs: glovebox for comfort, mounted kit for life threats.
Tier 2: The Trauma Layer (Life Threats)
This is the tier most vehicles are missing — the gear for the five-minute problems: severe bleeding, chest injuries, airway. Minimum load-out, organized per the MARCH protocol:
- A staged CAT Gen-7 tourniquet reachable from the driver's seat
- Wound-packing gauze and a pressure dressing
- Vented chest seals
- Gloves, trauma shears, and a mylar blanket for hypothermia management
A pre-built kit from our Vehicle & Home collection covers this tier in a single MOLLE-mountable package that straps to a seat back or cargo panel. If you're ever first on scene, our guide to first aid steps after a car accident walks through what to do before EMS arrives.
Tier 3: The Overland Layer (Far From Help)
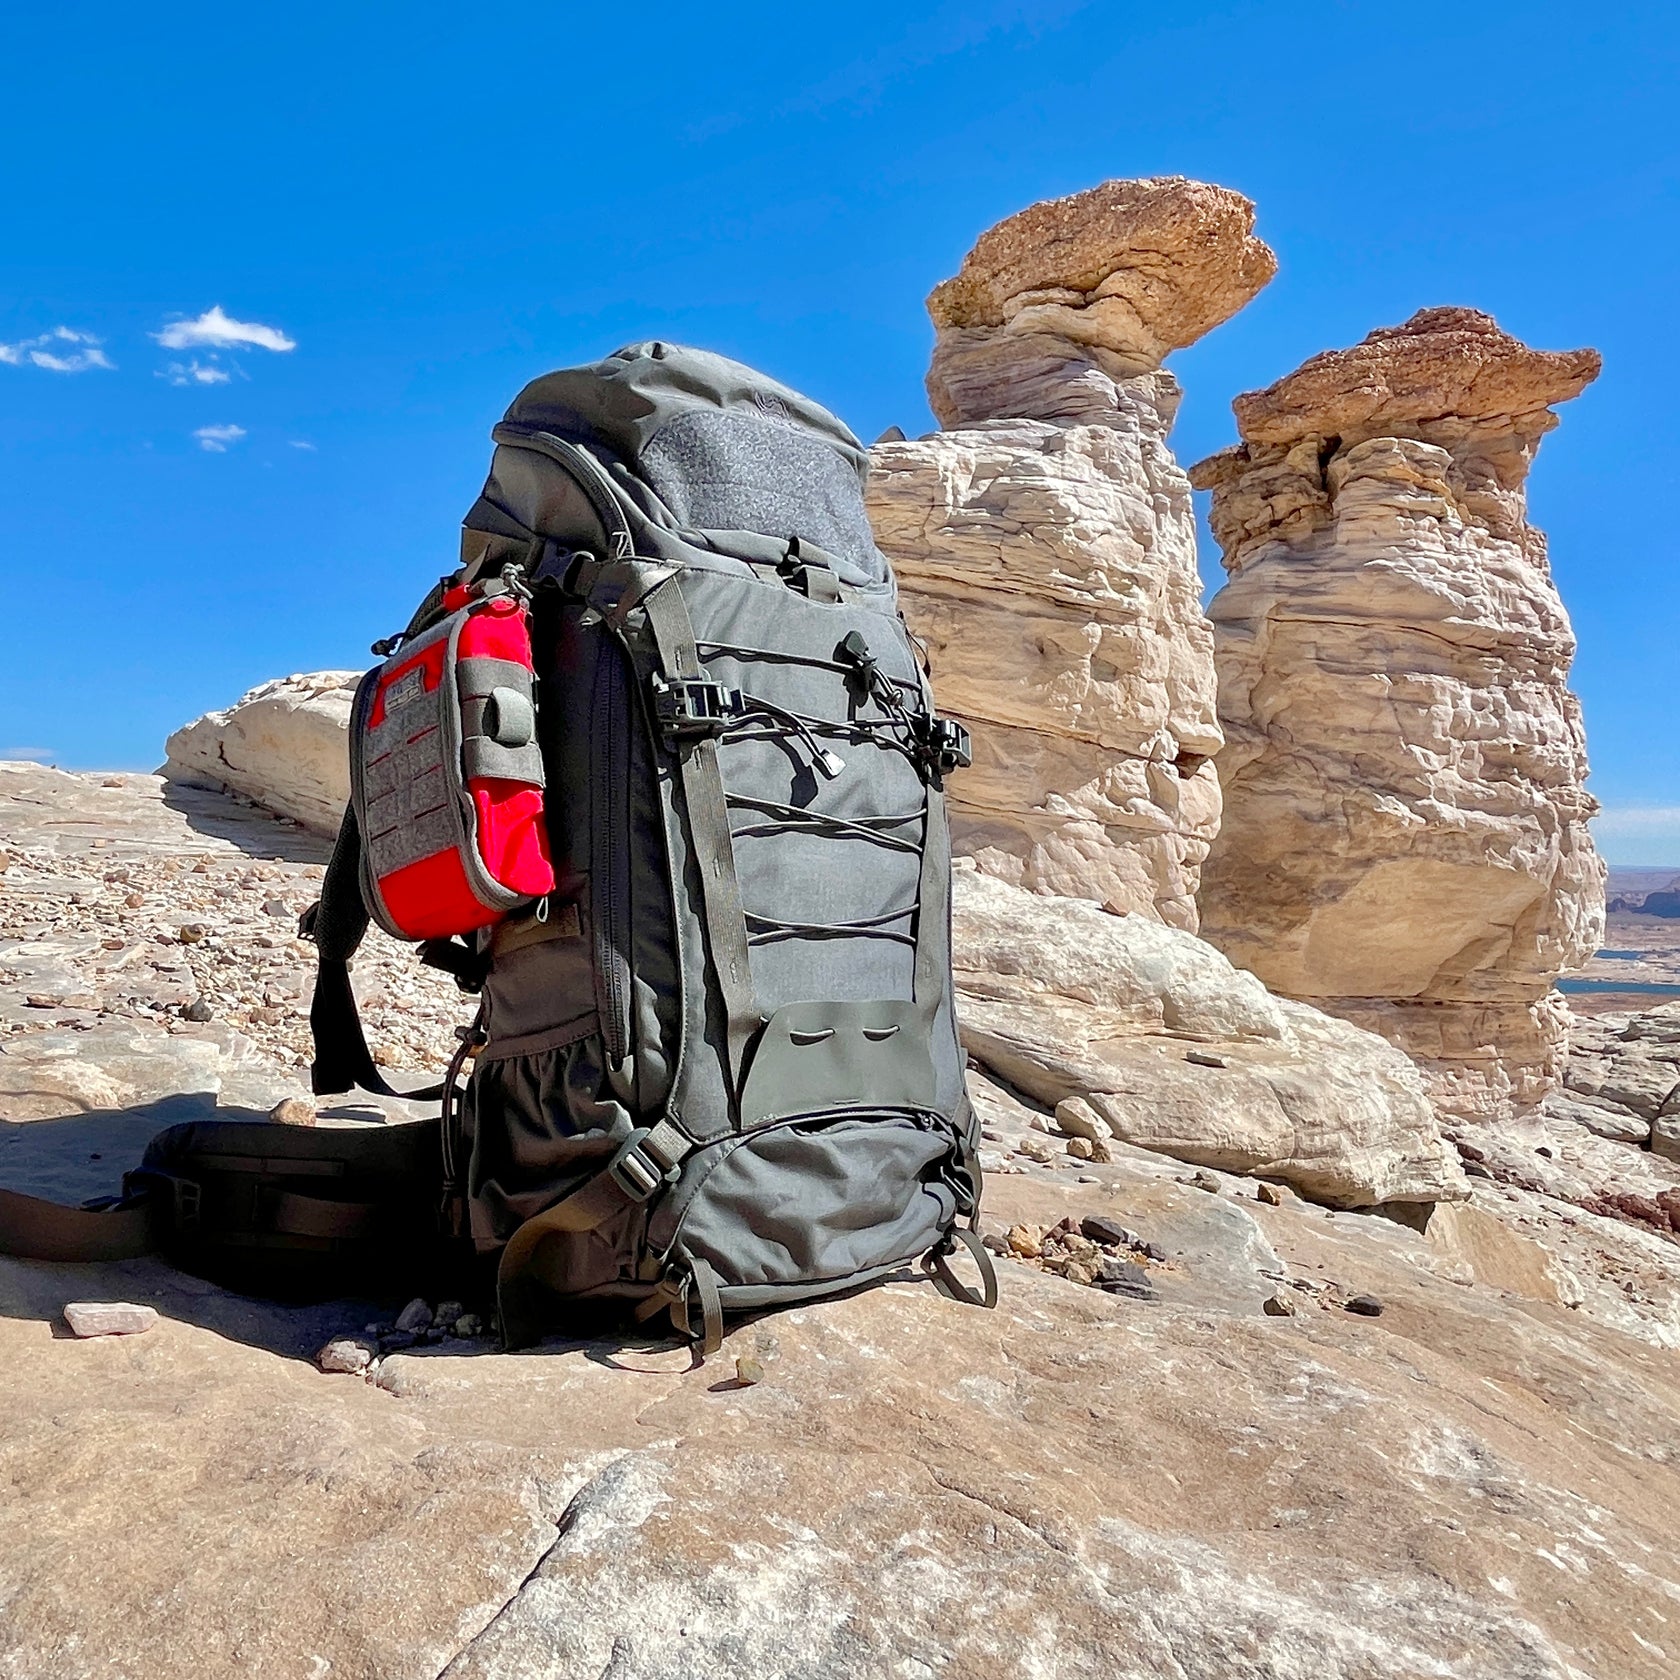
When response times are measured in hours, capability has to scale. The TRK-1 Trail Response Kit is our flagship vehicle build — a FATPack-PRO loaded for extended-care scenarios: splinting (SAM splint), wound care, MARCH reference cards, and enough consumables for multiple patients. Pair it with a rip-away med panel so the kit leaves the vehicle when you do.
Remote travel changes the math in two ways. First, quantity: a single bleed can consume every dressing you carry, and you may be treating more than one person from the same rollover — carry consumables in multiples. Second, duration: beyond the golden hour you're managing a patient, not just stabilizing one, so splinting, wound irrigation and re-dressing, and hypothermia control stop being optional. Add a means of communication that doesn't depend on cell coverage, and write down the GPS coordinates of the nearest trauma center along your route before you lose signal.
Heat Is the Enemy: What Cabin Temperatures Destroy
A parked car in summer sun routinely exceeds 140°F inside — and your medical gear rides through that cycle every day. What degrades first:
- Adhesives: chest seals and adhesive dressings are the most heat-sensitive items in the kit. Repeated cycles soften the gel and can ruin the seal's ability to stick to a sweaty chest.
- Medications: most OTC meds lose potency well below dashboard temperatures. Keep only small quantities in the vehicle and expect to replace them yearly, not at their printed expiration.
- Elastics and rubber: tourniquet bands, elastic wraps, and glove nitrile all stiffen and crack with heat and time.
Set a rotation schedule: inspect quarterly, rotate aging consumables into training use, and plan on replacing adhesive items and meds every one to two years — faster in hot climates. Store the kit low in the cabin or shaded in the cargo area rather than on the rear deck under glass. Full breakdown in Heat Kills Your Trauma Kit; restock from Restock & Refills.
Mounting and Access: Reachable Beats Stored
The test is simple: belted into the driver's seat, can you put a hand on your tourniquet? After a crash you may be pinned, injured, or working one-handed — a kit under the cargo floor is a kit you won't reach with traffic flying past. Proven mounting points:
- Headrest posts: the classic spot for a staged TQ or a compact kit on the front seatbacks — visible and reachable from both rows.
- Seat-back MOLLE panels: put the full trauma kit behind the front passenger seat, where the driver can twist and reach it and rear passengers face it directly.
- Cargo-area panels: fine for the Tier 3 overland bag and bulk supplies — as long as Tier 2 stays up front.
- Mark it. A medical response decal tells first responders — or a passenger digging for it — exactly where the kit lives.
Plan for Your Passengers
Your vehicle kit isn't just for you. If you drive kids, add pediatric-sized items (smaller bandages, child-dose meds where appropriate) and glove sizes for whoever else might render aid. Brief your regular passengers: where the kit mounts, how the decal marks it, and that the tourniquet is the first grab for serious bleeding. In a crash, the person applying your kit may be your spouse or teenager — a 60-second orientation now is the cheapest training you'll ever provide. Our family first aid preparedness guide covers building household-wide readiness.
Know How to Use Every Item
Gear without training is dead weight. Take a Stop the Bleed class and browse our education hub for TCCC references and video walk-throughs.
Compare every pre-built option side by side on the kits comparison chart, or configure your own with Build-My-IFAK.
Disclaimer: This article is for educational purposes only and is not a substitute for professional medical care or certified training. Seek qualified instruction before relying on trauma equipment.
Mentioned in this article
More stories

CAT Gen-7 Tourniquet: How to Stage, Carry, and Train With It