

A person with a severed femoral artery can bleed to death in three to five minutes. An ambulance in most of the United States takes seven or more. That gap is the entire reason trauma first aid exists as a skill for ordinary people — and it's a gap you can close with a few pieces of equipment and a few hours of training. Uncontrolled bleeding is the number one cause of preventable death after injury, and the interventions that stop it are simple enough that bystanders learn them in a single afternoon.
This guide is the hub for everything we teach about bleeding control and life-threatening injuries. It walks through the priorities of trauma care in the order the injuries actually kill: massive hemorrhage first, then airway, breathing, circulation, and heat loss. Each section below covers the essentials and links out to deeper guides, the relevant gear categories, and the training that ties it all together. Read it start to finish once, then come back to the sections you need.
Why bleeding control comes first
Trauma care has a strict order of operations, and it's built on one blunt fact: different injuries kill at different speeds. Arterial bleeding kills in minutes. A blocked airway kills in minutes to tens of minutes. A collapsed lung, shock, and hypothermia kill over tens of minutes to hours. If you treat a slow killer while a fast killer is running, the casualty dies with a perfectly splinted arm.
This is why civilian trauma training — including the national Stop the Bleed campaign — puts hemorrhage control at the top of every protocol. It's also why a real trauma kit looks nothing like a drugstore first aid kit. Adhesive bandages address annoyances; tourniquets, hemostatic gauze, and pressure dressings address the injuries that end lives. If that distinction is new to you, start with our article on the difference between an IFAK and a first aid kit.
The MARCH framework: triage you can remember
Military and tactical medicine organizes trauma priorities with the acronym MARCH, drawn from Tactical Combat Casualty Care (TCCC) — the evidence-based guidelines developed from two decades of combat casualty data. MARCH works just as well at a car wreck or a hunting accident as it does downrange:
- M — Massive hemorrhage: find and stop life-threatening bleeding before anything else.
- A — Airway: make sure air can get in. An unconscious casualty's own tongue is the most common obstruction.
- R — Respiration: address penetrating chest injuries that keep the lungs from working.
- C — Circulation: reassess bleeding control, check perfusion, and manage shock.
- H — Hypothermia and head injury: keep the casualty warm and protect the brain.
MARCH is more than a memory aid — it's how we organize our entire catalog, so the gear maps one-to-one to the priority it serves: M – Massive Hemorrhage, A – Airway, R – Respiration, C – Circulation, and H – Hypothermia / Head Injury. For a deeper walkthrough of each phase, see our full MARCH protocol guide.
The sections that follow take each priority in turn.
Massive hemorrhage: tourniquets

For life-threatening bleeding from an arm or leg, the tourniquet is the definitive answer. Modern windlass tourniquets like the CAT Generation 7 compress the limb until arterial flow stops completely — something direct pressure from tired hands cannot sustain. Decades of combat data have retired the old myth that a tourniquet means losing the limb: applied correctly, tourniquets are overwhelmingly limb-safe for the timeframes that matter in civilian emergencies, and hesitating to use one is far more dangerous than using one.
The core principles are simple. Recognize life-threatening bleeding: blood that spurts, pools rapidly, or soaks clothing in seconds. Place the tourniquet high and tight on the injured limb, over the pressure point, never over a joint. Tighten the windlass until the bleeding stops — not until it slows — then lock it and note the time. Expect it to hurt; a tourniquet that doesn't hurt probably isn't tight enough. And once it's on, it stays on until a higher level of care takes over.
Buy real, carry ready
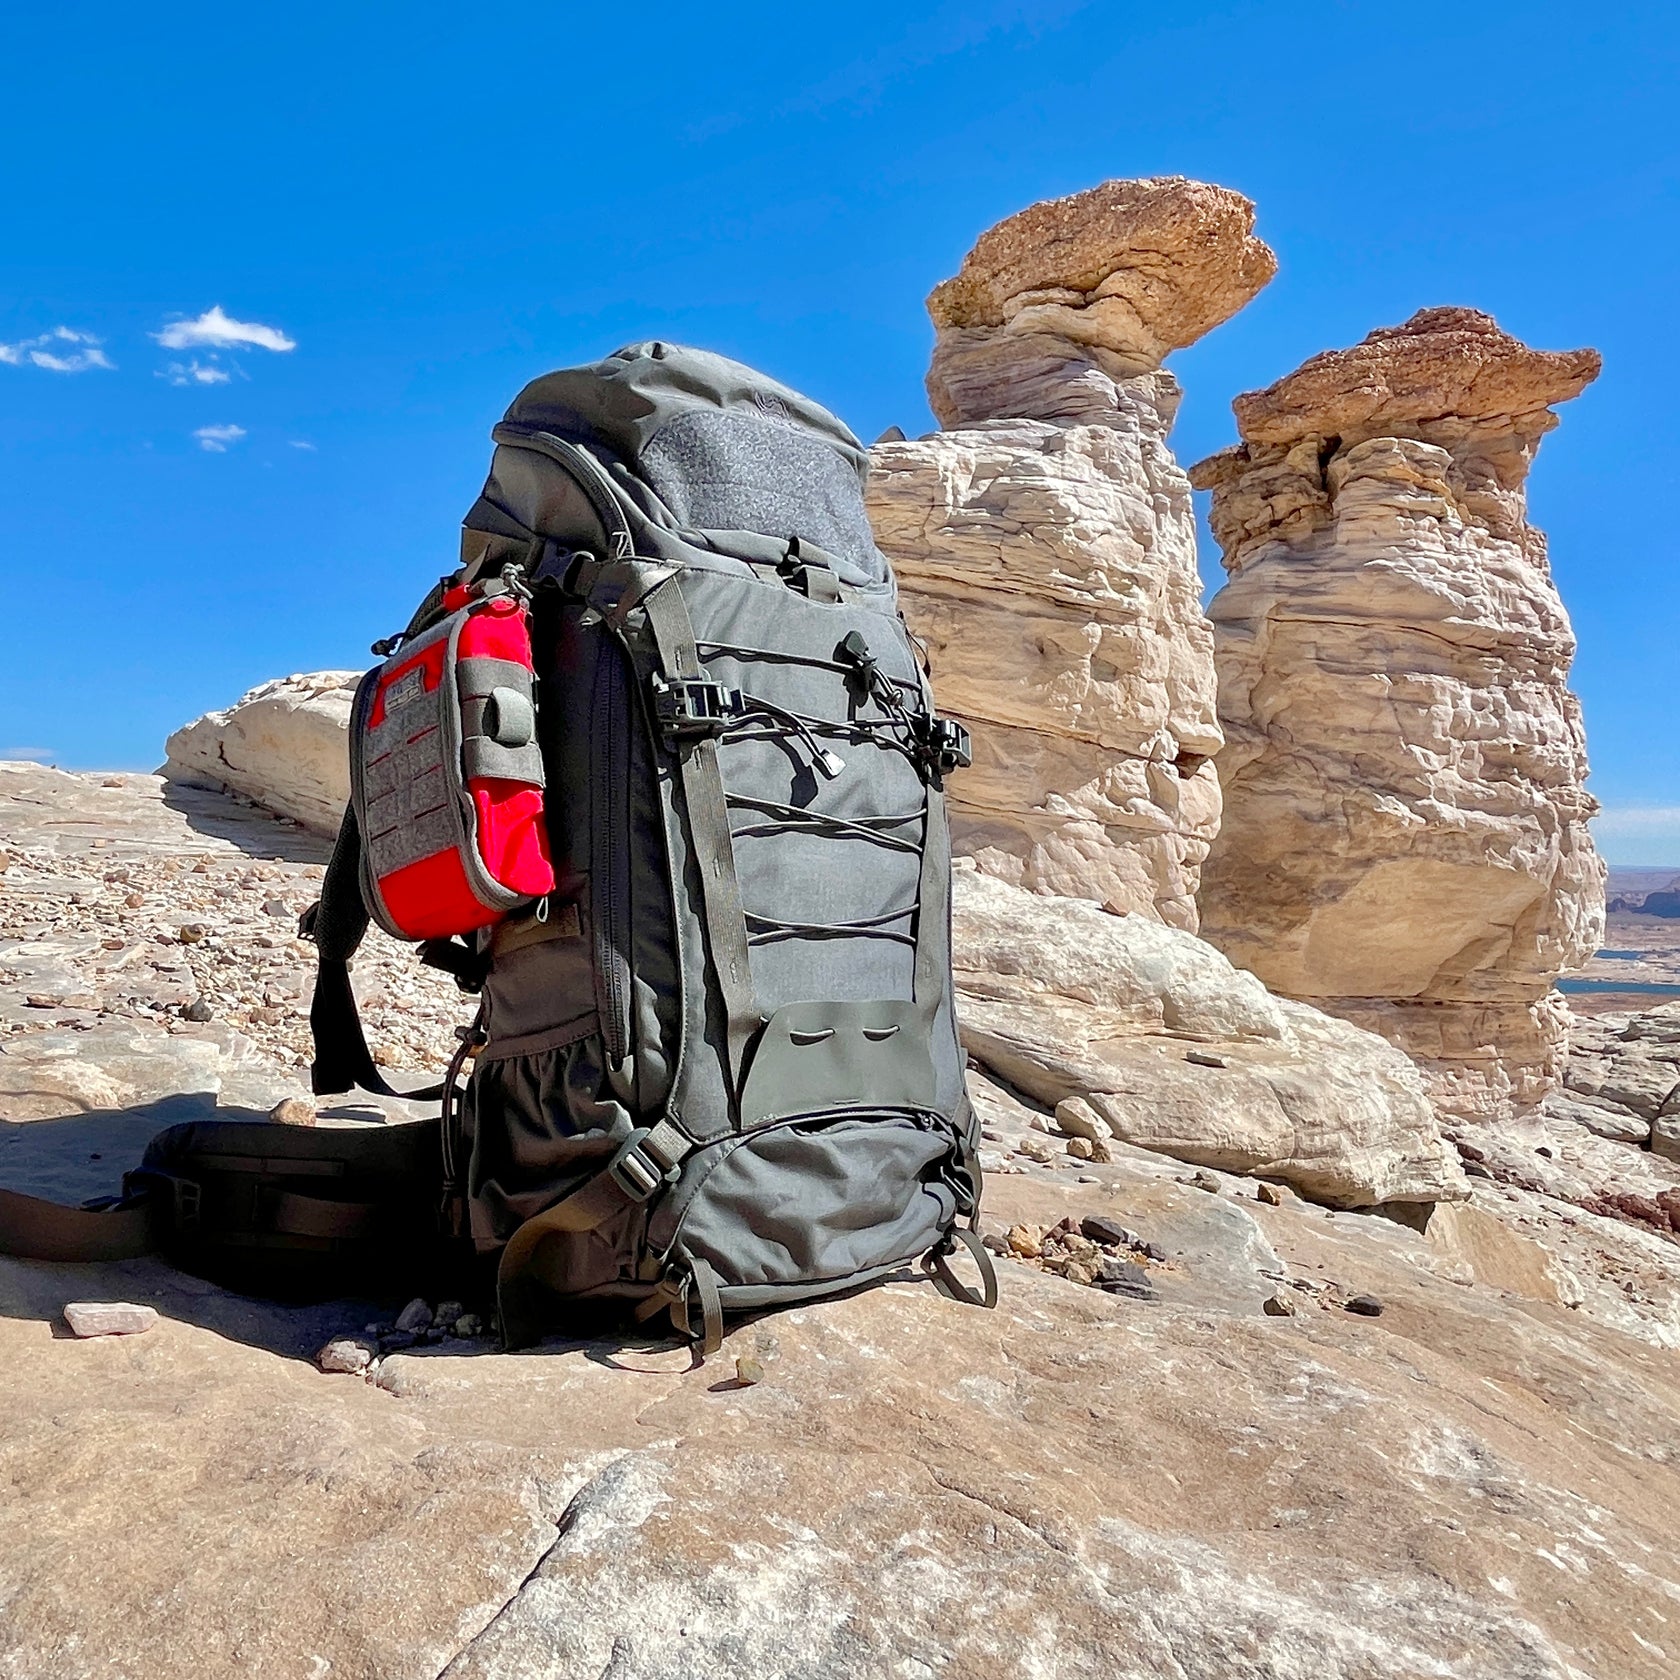
Two practical warnings. First, counterfeit tourniquets are a genuine problem on marketplace sites — fakes with brittle windlasses and slipping buckles fail exactly when they can't be allowed to. Buy from an authorized source. Second, a tourniquet buried at the bottom of a bag might as well not exist. Staged carry — on a belt, on a plate carrier, or in a dedicated mount like the TQ1 tourniquet holder — keeps it reachable with either hand in seconds. Browse the full massive hemorrhage collection for tourniquets and bleeding control essentials.
A dedicated deep-dive on tourniquet selection, application, and conversion is coming to this hub soon.
Wound packing and pressure dressings
Tourniquets solve limb bleeding, but they can't help with junctional wounds — the groin, armpit, neck, and shoulder, where there's no cylinder of limb to compress. For those, the answer is wound packing: feeding gauze deep into the wound cavity, directly against the bleeding vessel, and holding firm pressure on top of it for several minutes. It's uncomfortable to do and worse to receive, but it works, because it puts pressure exactly where the blood is coming out — at the source, not at the skin.
Purpose-made packing gauze such as NAR S-rolled gauze feeds smoothly hand-over-hand into a wound without tangling. Once the cavity is packed, the pressure needs to be held mechanically so your hands are free — that's the job of an emergency trauma dressing. The 6-inch ETD and the compact NAR Mini Responder 4-inch ETD combine a sterile pad with an elasticized wrap and pressure bar that lock steady force over the packed wound. Dressings, wraps, and gauze live in the circulation collection.
Three rules to remember: pack tight (a loosely packed wound still bleeds underneath), hold pressure for a full three minutes before dressing, and never pack a chest or abdominal wound — those need a different intervention entirely, which brings us to the next section.
Chest seals and penetrating chest injuries

A penetrating wound to the chest — gunshot, stab, or impalement — creates a new problem beyond bleeding. Every breath the casualty takes can pull air through the hole into the chest cavity instead of into the lung, progressively collapsing it. This is a sucking chest wound, and the fix is to seal the hole.
A vented chest seal like the HyFin Vent Compact twin pack or the full-size HyFin Vent standard twin pack is an aggressive adhesive dressing with one-way channels: air and blood can escape the chest, but nothing gets pulled back in. The vents matter because a fully occlusive seal can let escaping air build up inside the chest until it compresses the heart and the opposite lung — a tension pneumothorax, which is rapidly fatal.
Application is straightforward: expose the chest, wipe the area as dry as you can, apply the seal over the hole on the casualty's exhale, and — critically — check the back and sides for an exit wound, which needs its own seal. That's why chest seals come in twin packs. Find chest seals and respiratory equipment in the respiration collection.
Airway basics
An unconscious person on their back can suffocate on their own tongue as the muscles of the jaw relax and the tongue slides against the back of the throat. The most valuable airway interventions require no equipment at all: the head-tilt chin-lift, the jaw thrust for suspected spinal injury, and the recovery position — rolling an unconscious, breathing casualty onto their side so gravity keeps the tongue forward and lets blood or vomit drain out instead of down.
One piece of equipment earns its place in a compact kit: the nasopharyngeal airway (NPA), a soft flexible tube inserted through the nostril that holds a physical channel past the tongue. It's tolerated even by semi-conscious casualties and is standard in TCCC-aligned kits — ours carry a pre-lubricated 28F NAR NPA. Insertion technique matters, which is exactly the kind of skill to learn hands-on in a class rather than from an article. For rescue breathing, a keychain CPR face shield with a one-way valve keeps a barrier between you and the casualty. Airway equipment lives in the airway collection.
Shock and hypothermia: the quiet killers
Stopping the bleeding is half the fight. A casualty who has lost significant blood slides toward hemorrhagic shock — the body can no longer deliver enough oxygen to its tissues. Watch for pale, cool, clammy skin; a rapid weak pulse; confusion or anxiety; and thirst. You can't replace blood in the field, but you can stop making things worse: keep the casualty flat, keep them calm, and keep them warm.
Warmth is not a comfort measure — it's physiology. Blood loss wrecks the body's ability to generate heat, and even mild hypothermia degrades clotting, which means a cold casualty bleeds more from the same wound. Trauma surgeons call the interaction of hypothermia, poor clotting, and acidosis the lethal triad, and it starts in the field, even in warm weather. Insulate the casualty from the ground, cover them with a reflective blanket, and cover the head. Warmth, splinting, and head-injury supplies are in the hypothermia and head injury collection.
Choosing your trauma kit

Equipment only counts if it's within reach when the injury happens, so the right kit is the one that matches how you actually live and move. Think in tiers:
- On your person: a pocket-scale kit you'll genuinely carry every day. The Pocket ACE IFAK is built for exactly this — flat, modular, and sized for a cargo pocket or waistband.
- In your bag or vehicle: a full IFAK covering every MARCH category. The AID-PAK Gen-2 and the UMG Advanced IFAK pack tourniquet, packing gauze, ETD, chest seals, NPA, and hypothermia protection into an organized tear-open pouch; the UMG Basic IFAK covers the bleeding-control core at a lower cost of entry.
- Mission-specific: kits shaped for a context — the TRK-1 Trail Response Kit for overlanding and backcountry vehicles, or the tear-away MOLLE-mounted Eleven 10 ETAK for duty gear and range bags.

Whatever tier you're shopping, judge a kit by its contents, not its pouch: a real trauma kit has a windlass tourniquet, packing gauze, a pressure dressing, vented chest seals, an NPA, and a survival blanket. Gloves and trauma shears round it out. Browse stocked kits and compact kits, or compare every UMG kit line by line on the kits comparison chart.
Training: the most important item you can't buy
Every intervention on this page is easy to read about and meaningfully harder to perform on a real person with shaking hands. Training closes that gap. A Stop the Bleed course takes about ninety minutes and drills tourniquet application and wound packing on realistic trainers — find one near you through your local hospital, fire department, or stopthebleed.org. From there, a wilderness first aid course or a TECC/TCCC-based class for civilians adds airway management, casualty assessment, and decision-making under stress.
Then keep the skill alive. Put your hands on your own tourniquet regularly — apply it to your own leg, one-handed, until it's boring. An intervention you've rehearsed twenty times is one you'll actually perform when your pulse is redlined. Our education page collects courses, guides, and reference material to keep you current.
Frequently asked questions
How long can a tourniquet stay on safely?
Current TCCC-informed guidance holds that tourniquets are generally safe for up to two hours, and documented limb salvage extends well beyond that. In any realistic civilian scenario, EMS will reach the casualty long before time becomes the concern. Apply it, note the time, and leave it on until a medical professional takes over — never loosen a tourniquet to "let blood flow back in."
What's the difference between an IFAK and a regular first aid kit?
A first aid kit treats minor injuries — cuts, scrapes, sprains. An IFAK (Individual First Aid Kit) treats life-threatening ones: massive bleeding, chest injuries, and airway compromise. The contents barely overlap. Our IFAK vs. first aid kit guide breaks the comparison down item by item.
Can I improvise a tourniquet from a belt or a shirt?
Poorly. Improvised tourniquets fail at high rates because they lack a windlass to generate enough mechanical pressure to stop arterial flow — a belt cinched by hand almost never gets tight enough. Improvisation is a last resort, not a plan. A purpose-built windlass tourniquet costs less than a tank of gas and works the first time.
Do I need training to use this equipment?
Legally, no — anyone can carry and use bleeding control equipment, and Good Samaritan laws in every US state protect people who render aid in good faith. Practically, yes: a Stop the Bleed course takes one evening and is the single highest-value upgrade to any kit you own.
Where should I keep my trauma kit?
Where the injuries happen: one in the vehicle, one in the range bag or pack, and something on your person if your work or hobbies carry real risk. The kit at home in a closet helps no one on the highway. This is why we build compact kits — the best kit is the one you actually have.
Disclaimer: This article is for educational purposes only and is not a substitute for professional medical care or certified training. Seek qualified instruction (e.g., Stop the Bleed, TCCC) before relying on any trauma equipment.
Find similar articles:
bleeding control IFAK MARCH protocol stop the bleed TCCC tourniquet trauma first aid wound packingMentioned in this article
More stories